Hey folks, welcome to another Wednesday! Drones give us new perspective to look at the world around us. These remarkable robots possess the ability to traverse all three dimensions, traversing vast distances in any desired direction to fulfill our desires. Among the illustrious drones in the industry, 3D Robotics introduced a truly iconic one – the 3DR Solo. Today, we’ll discuss one of my favorite prototypes I’ve ever built using the same – the semi-autonomous 3DR solo.
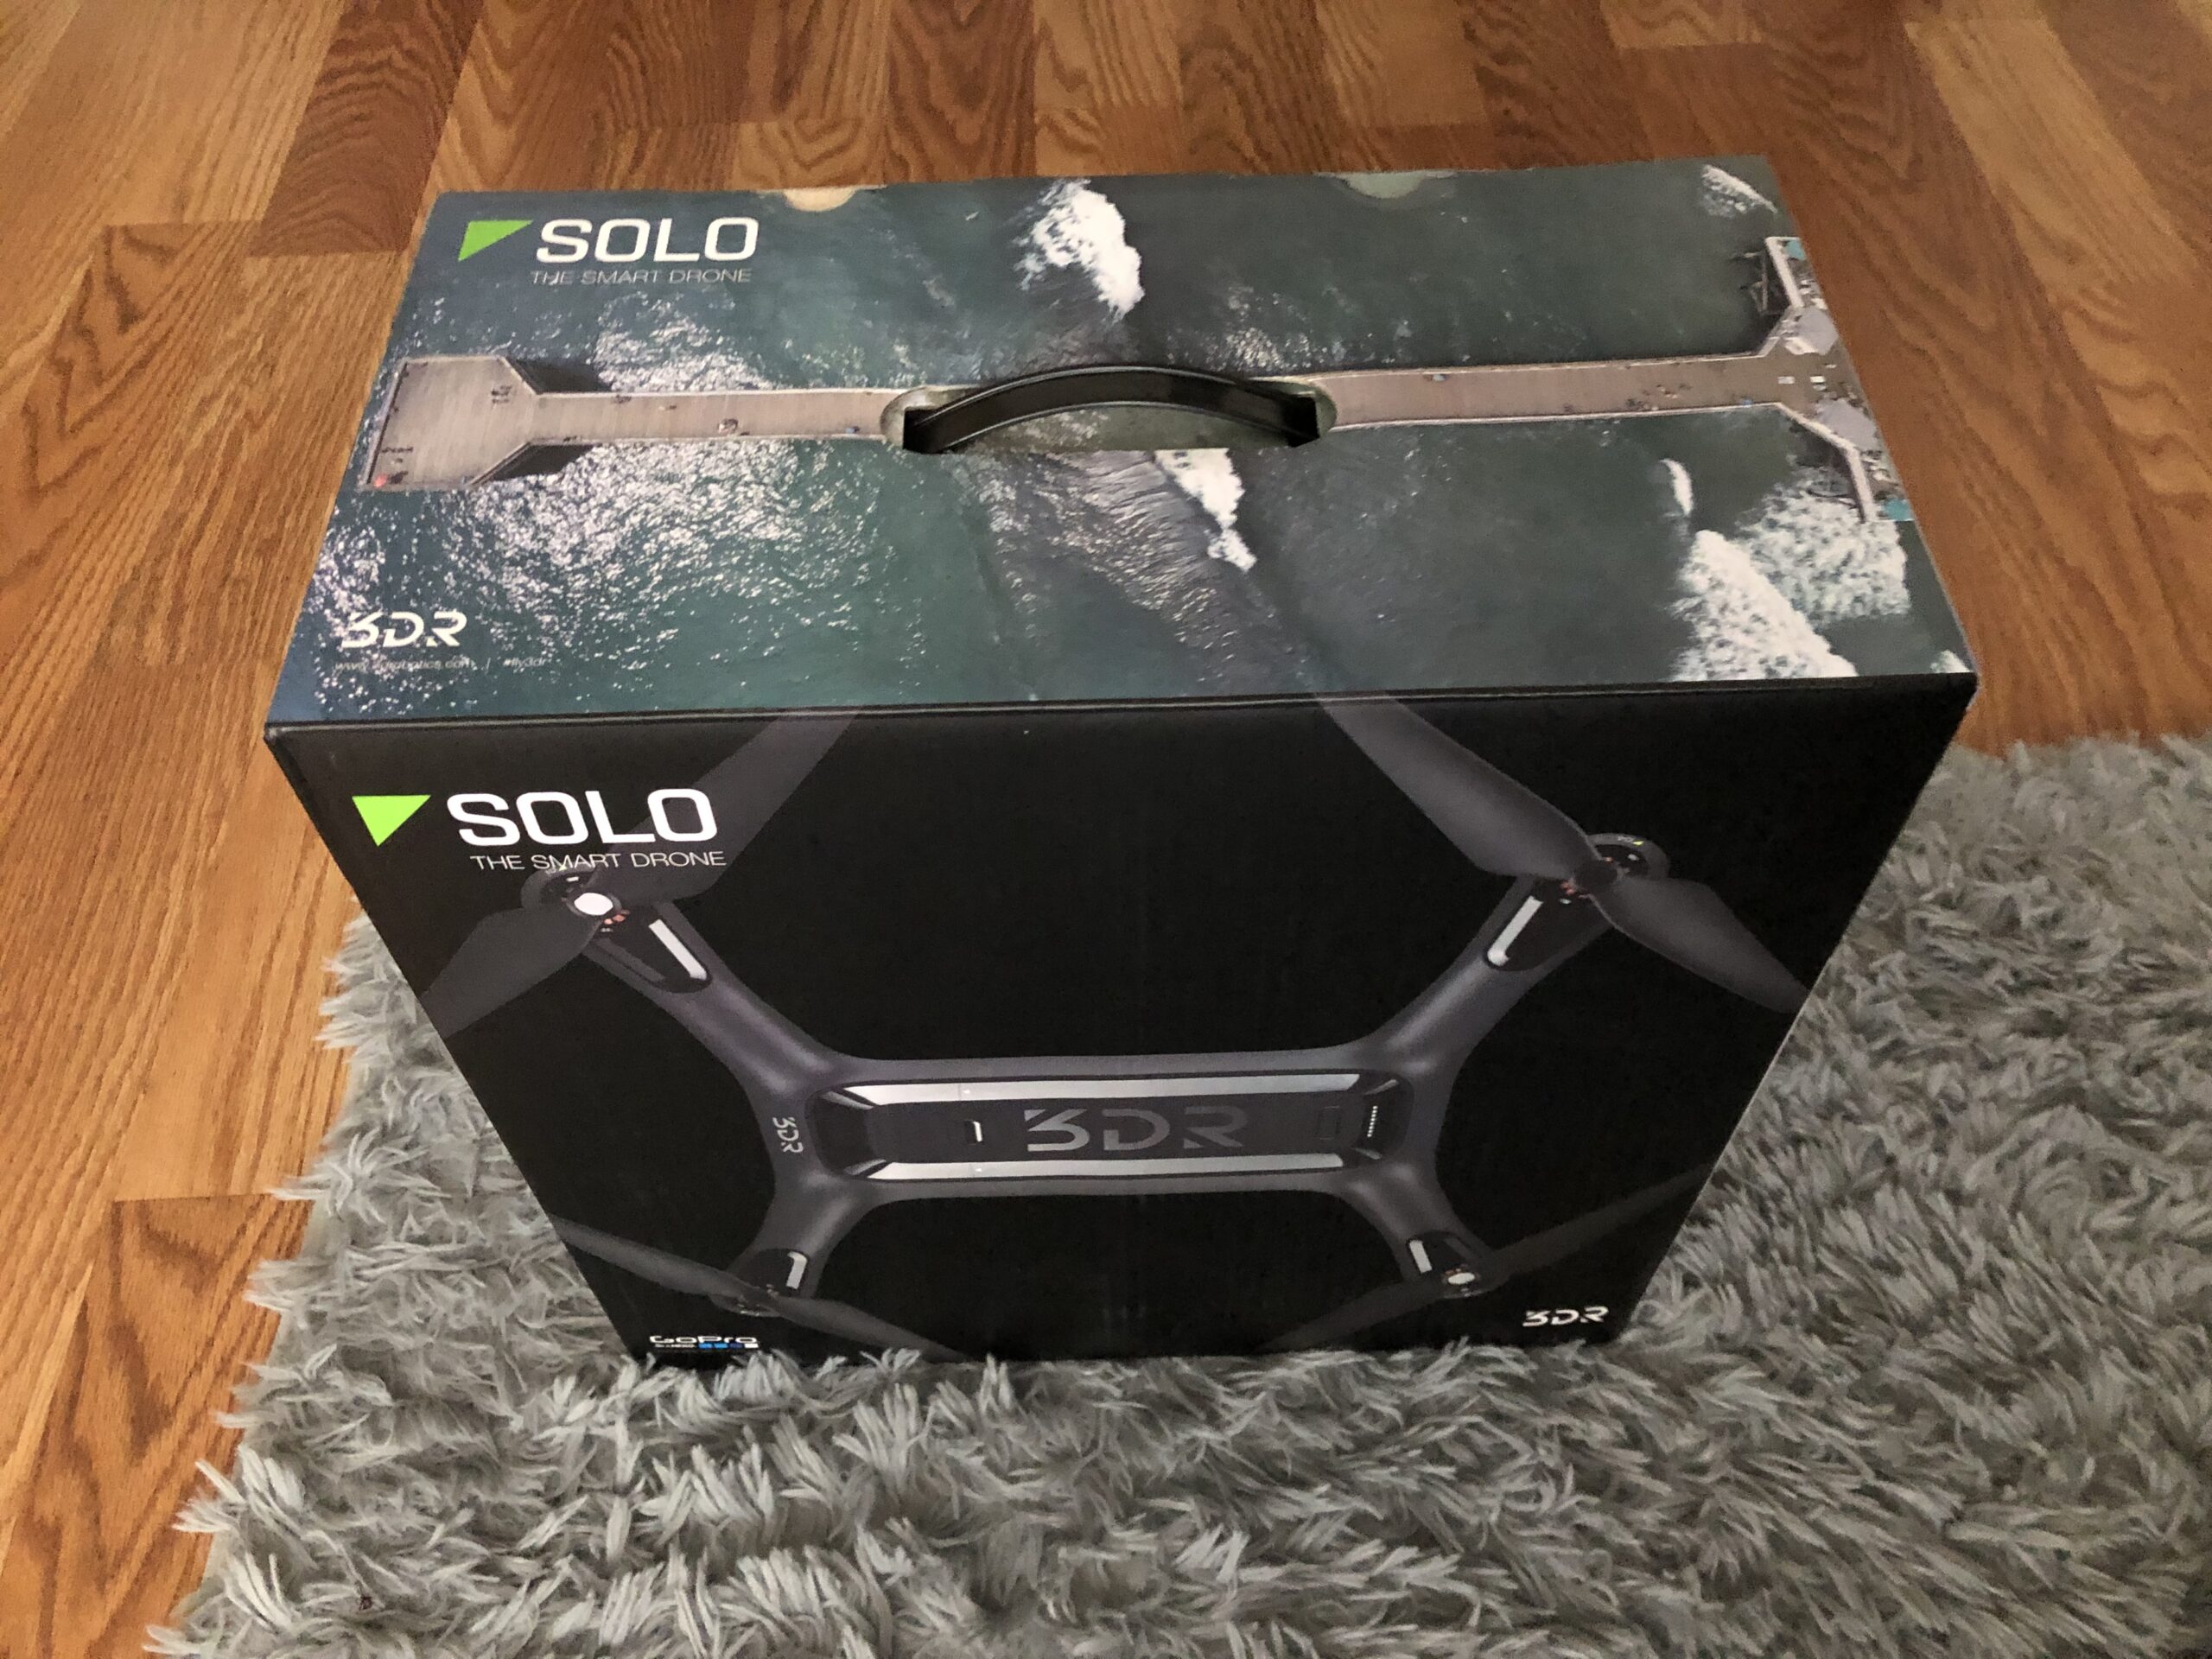
This is the package.
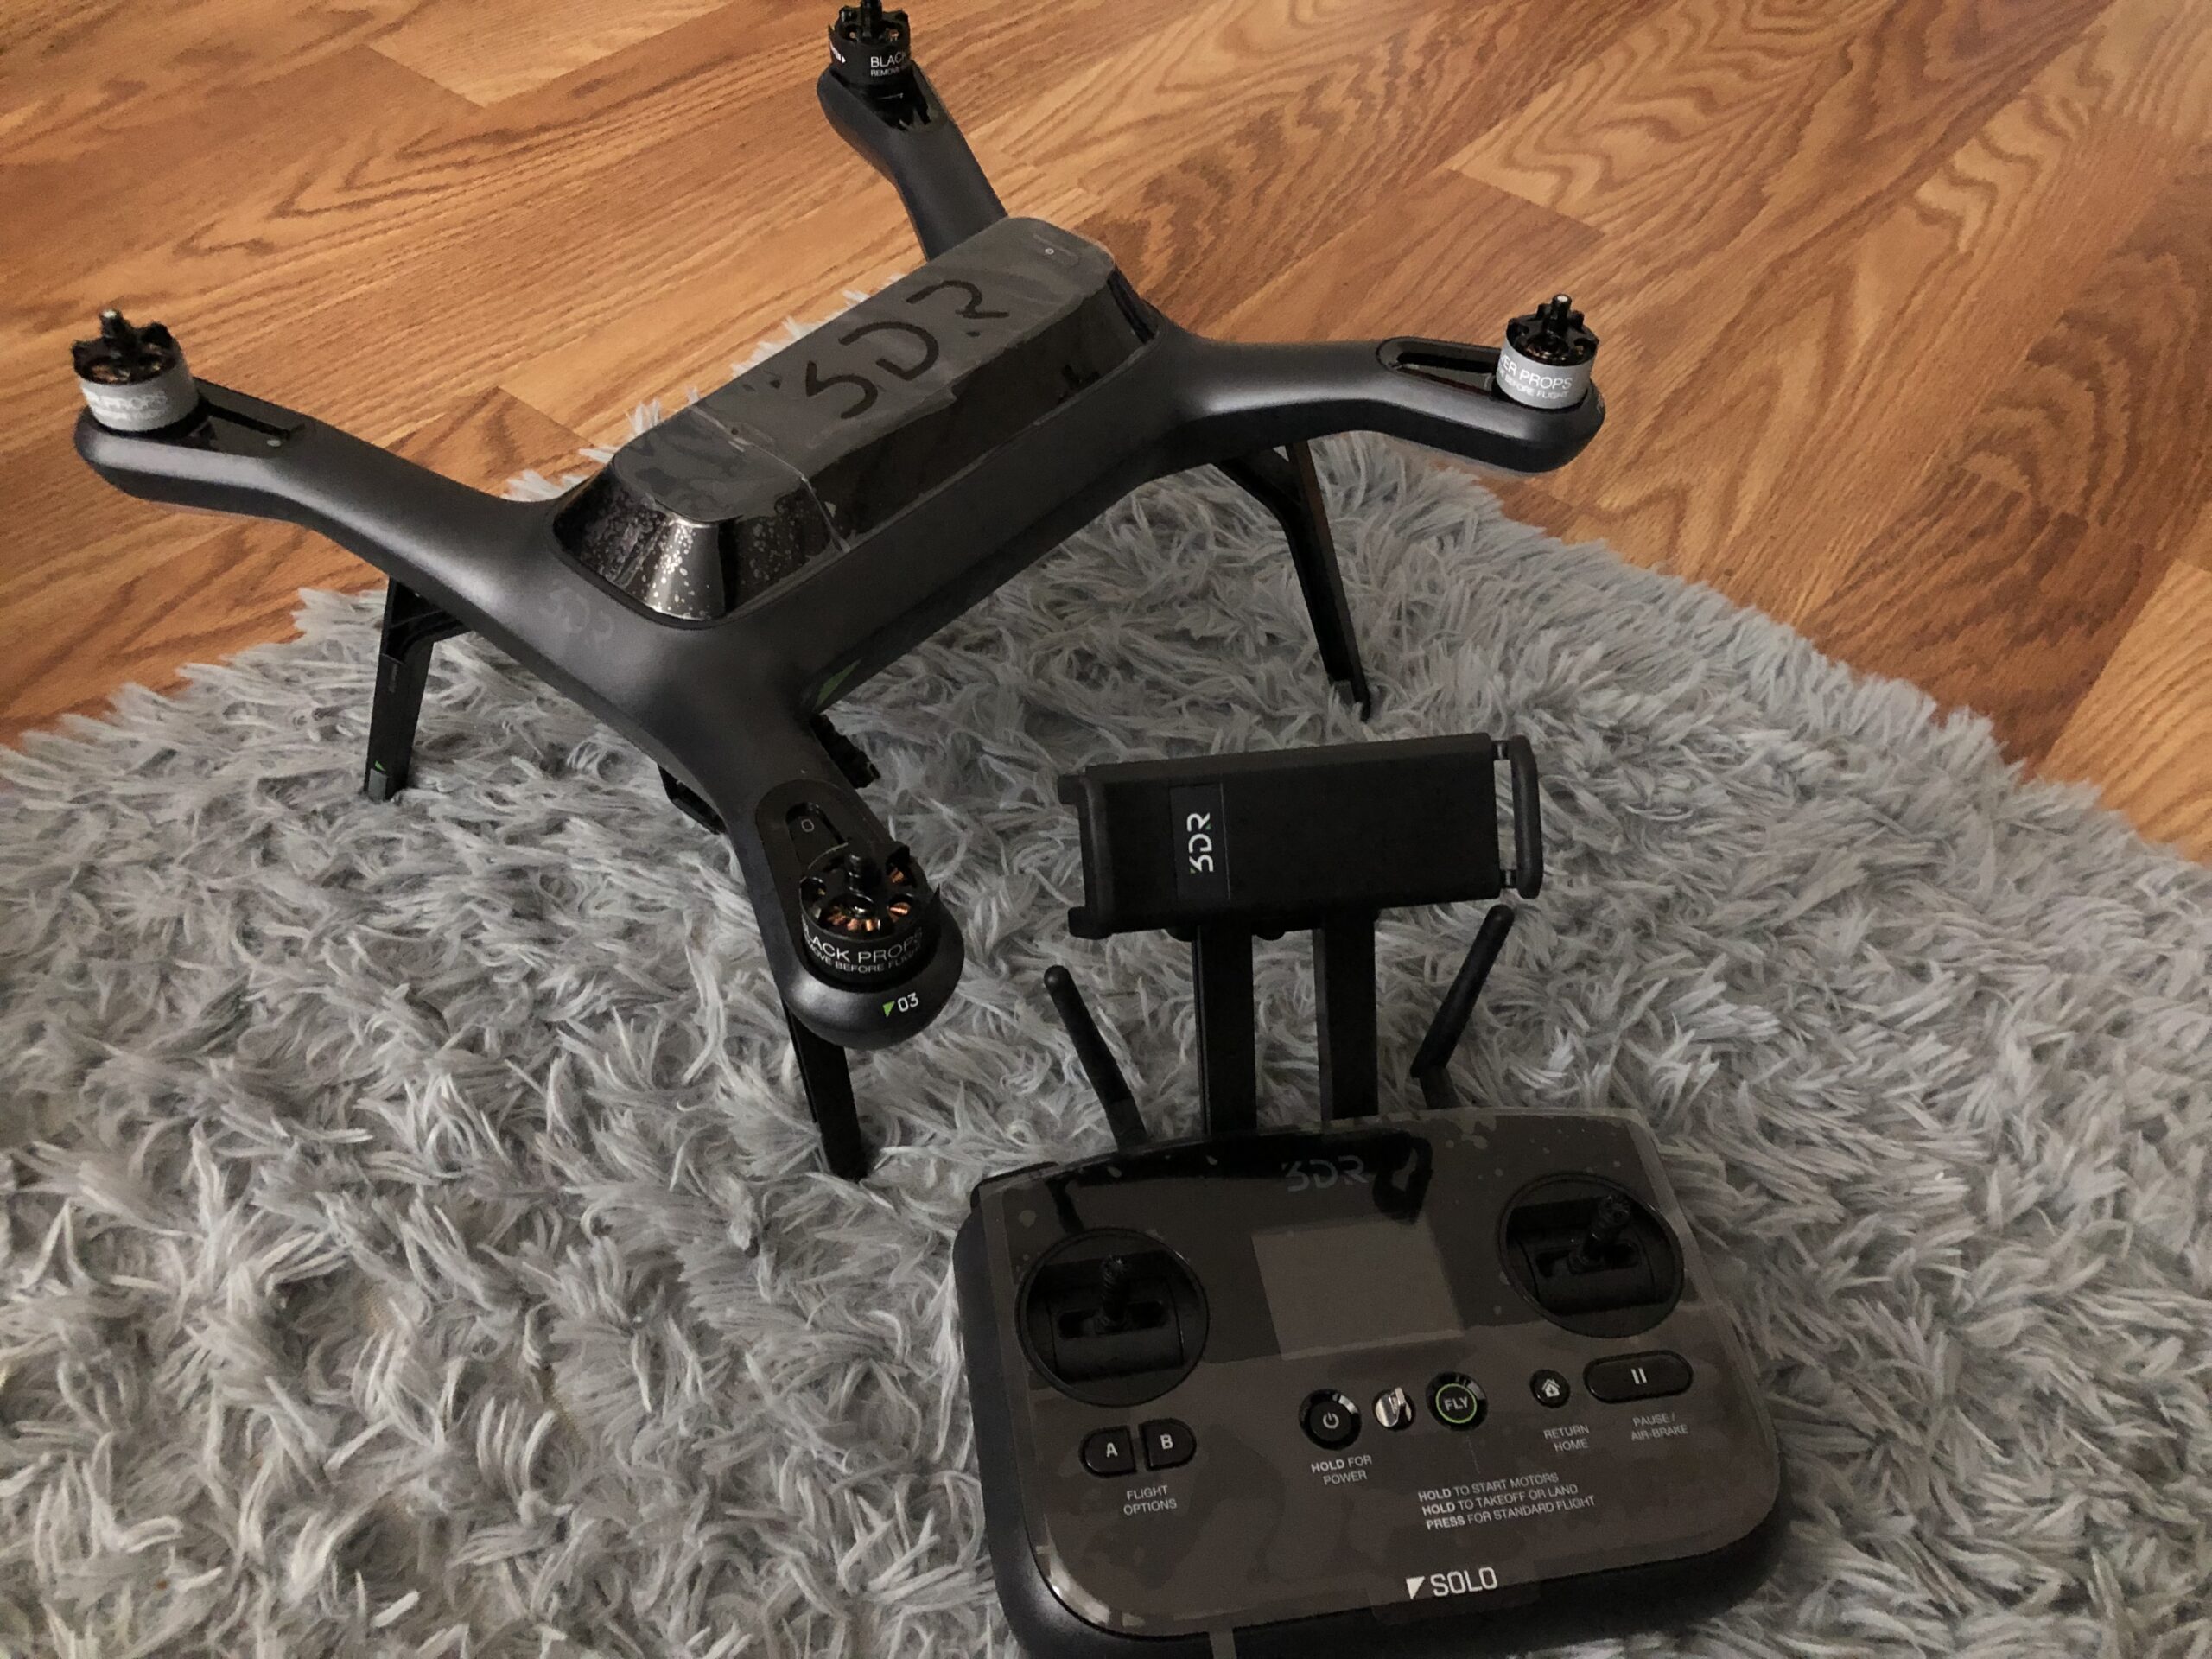
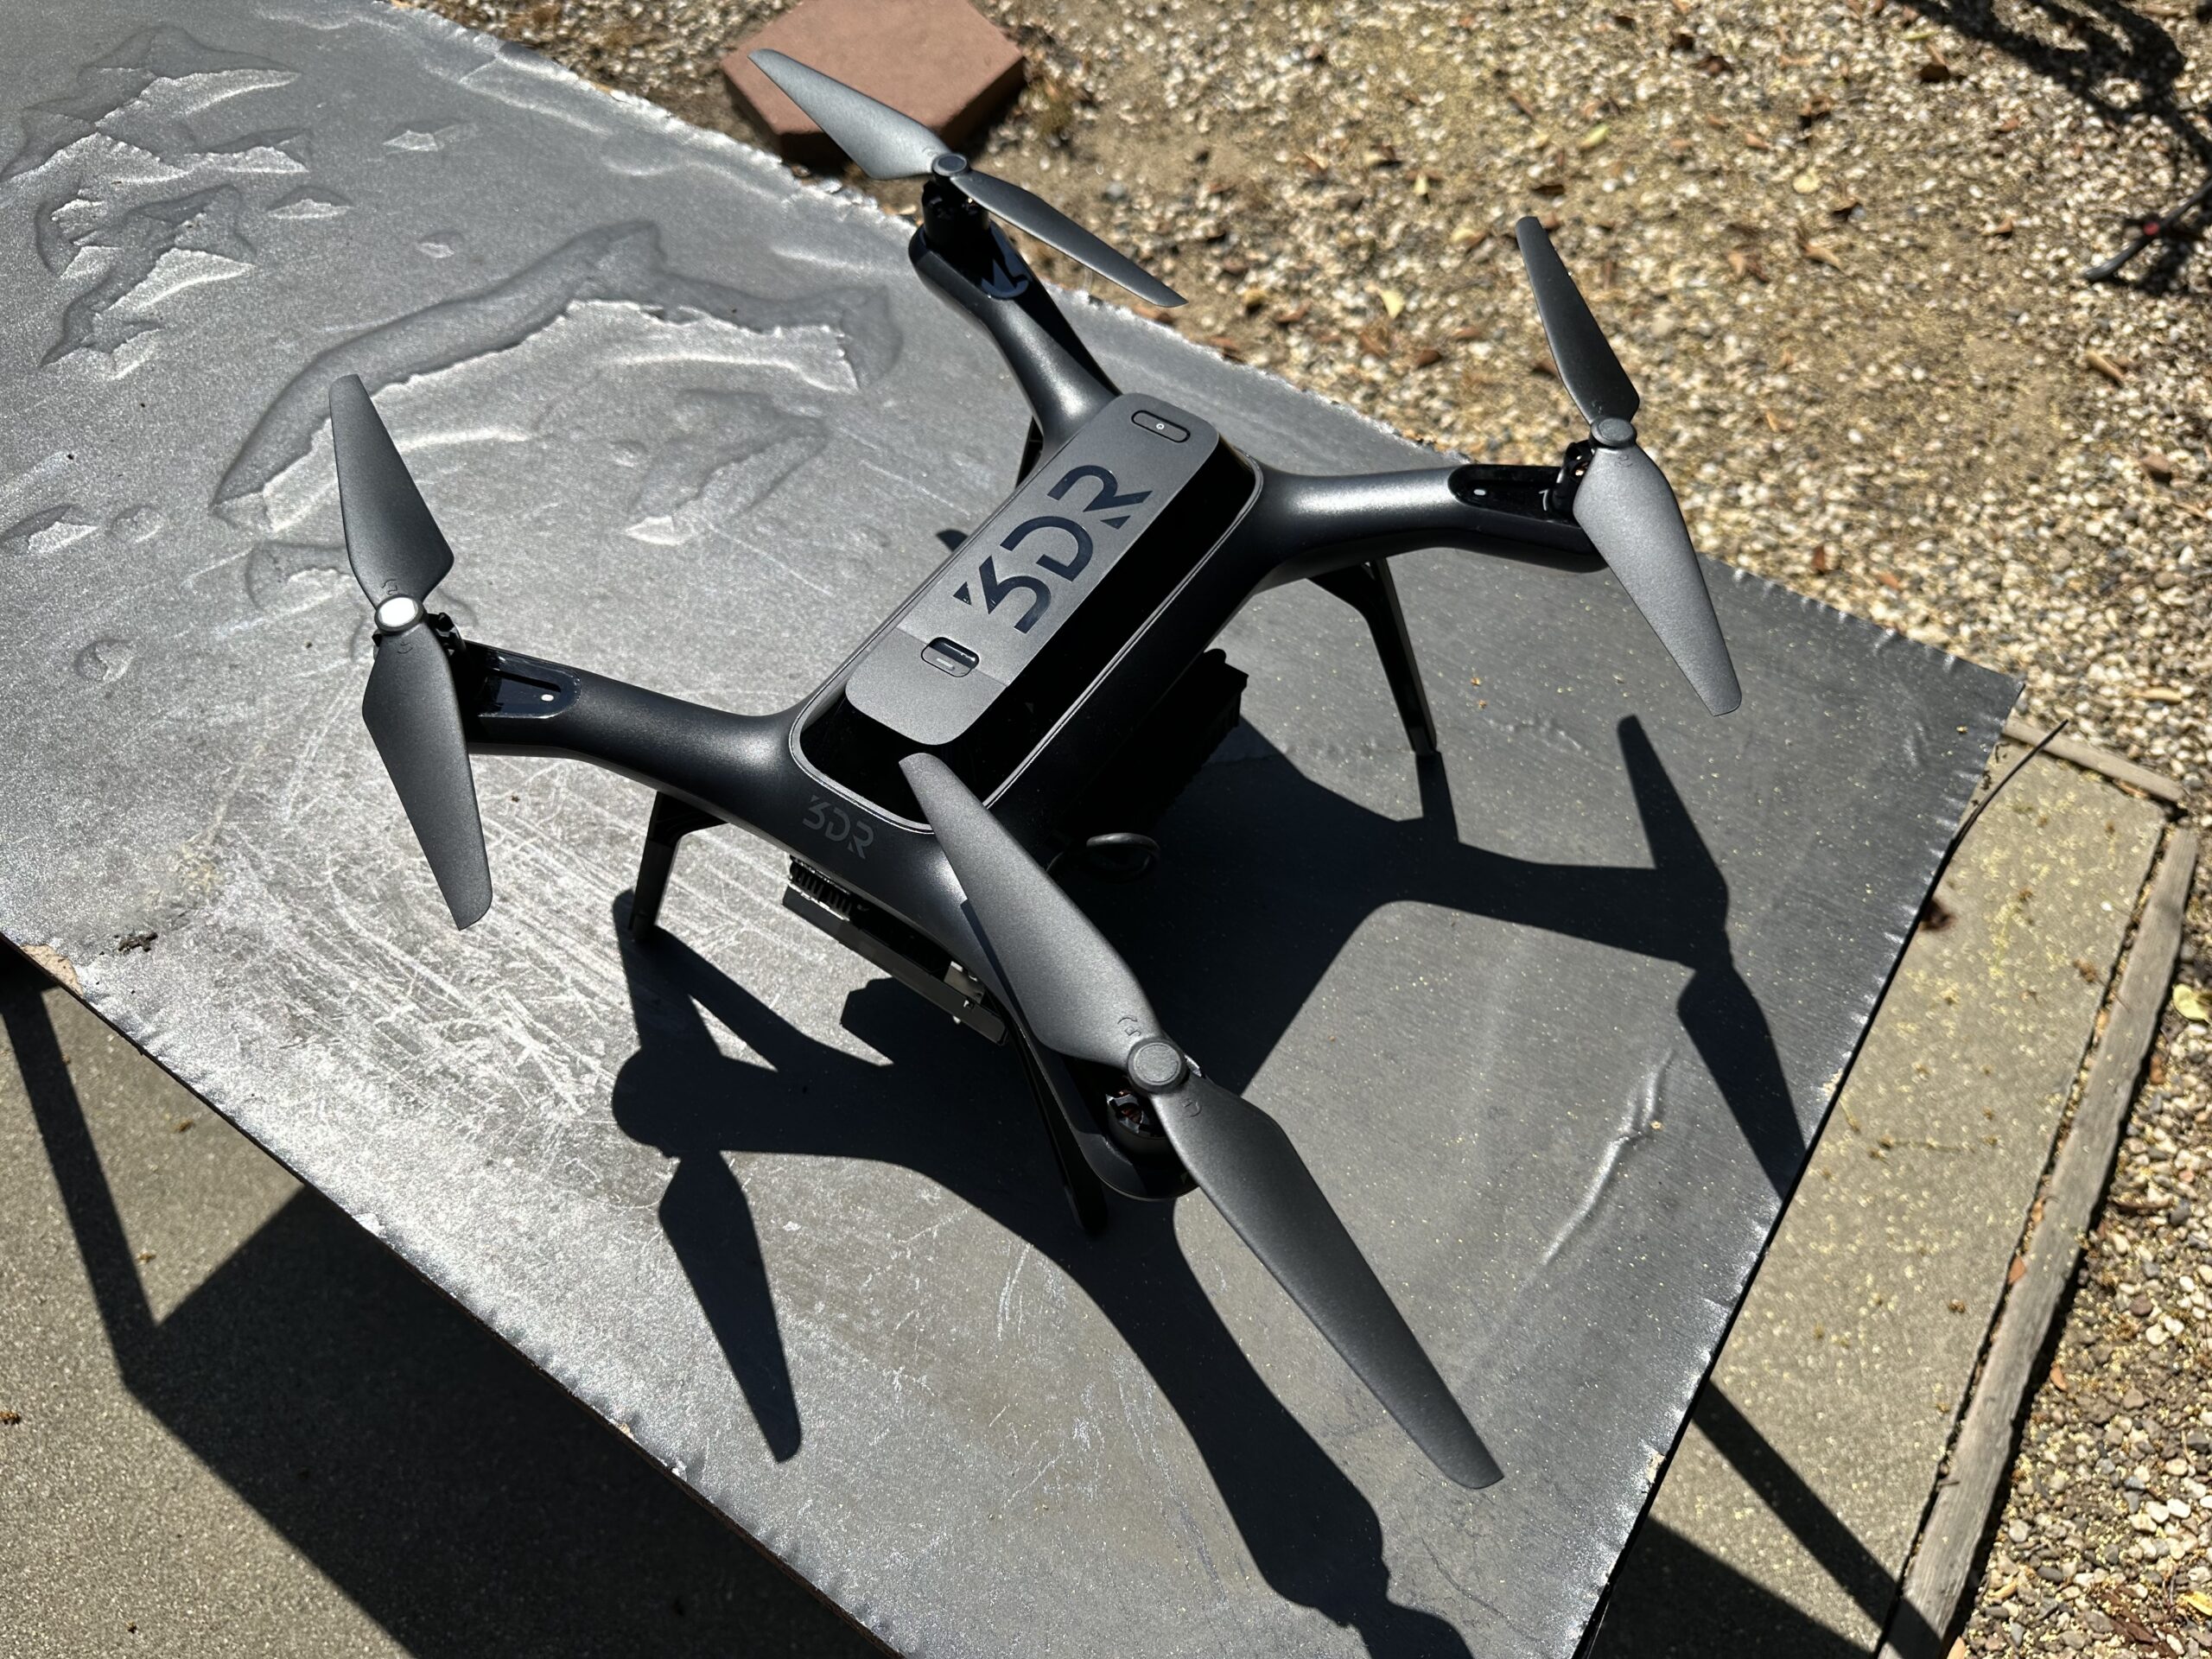
Here is the drone unboxed. It has nice clear indicators for motors/propellers – silver and black. The controller has tiny LED in the center that shows status of the drone like arm state, number of satellites connected, orientation, gimbal tilt, etc.
Let’s look at the bottom.
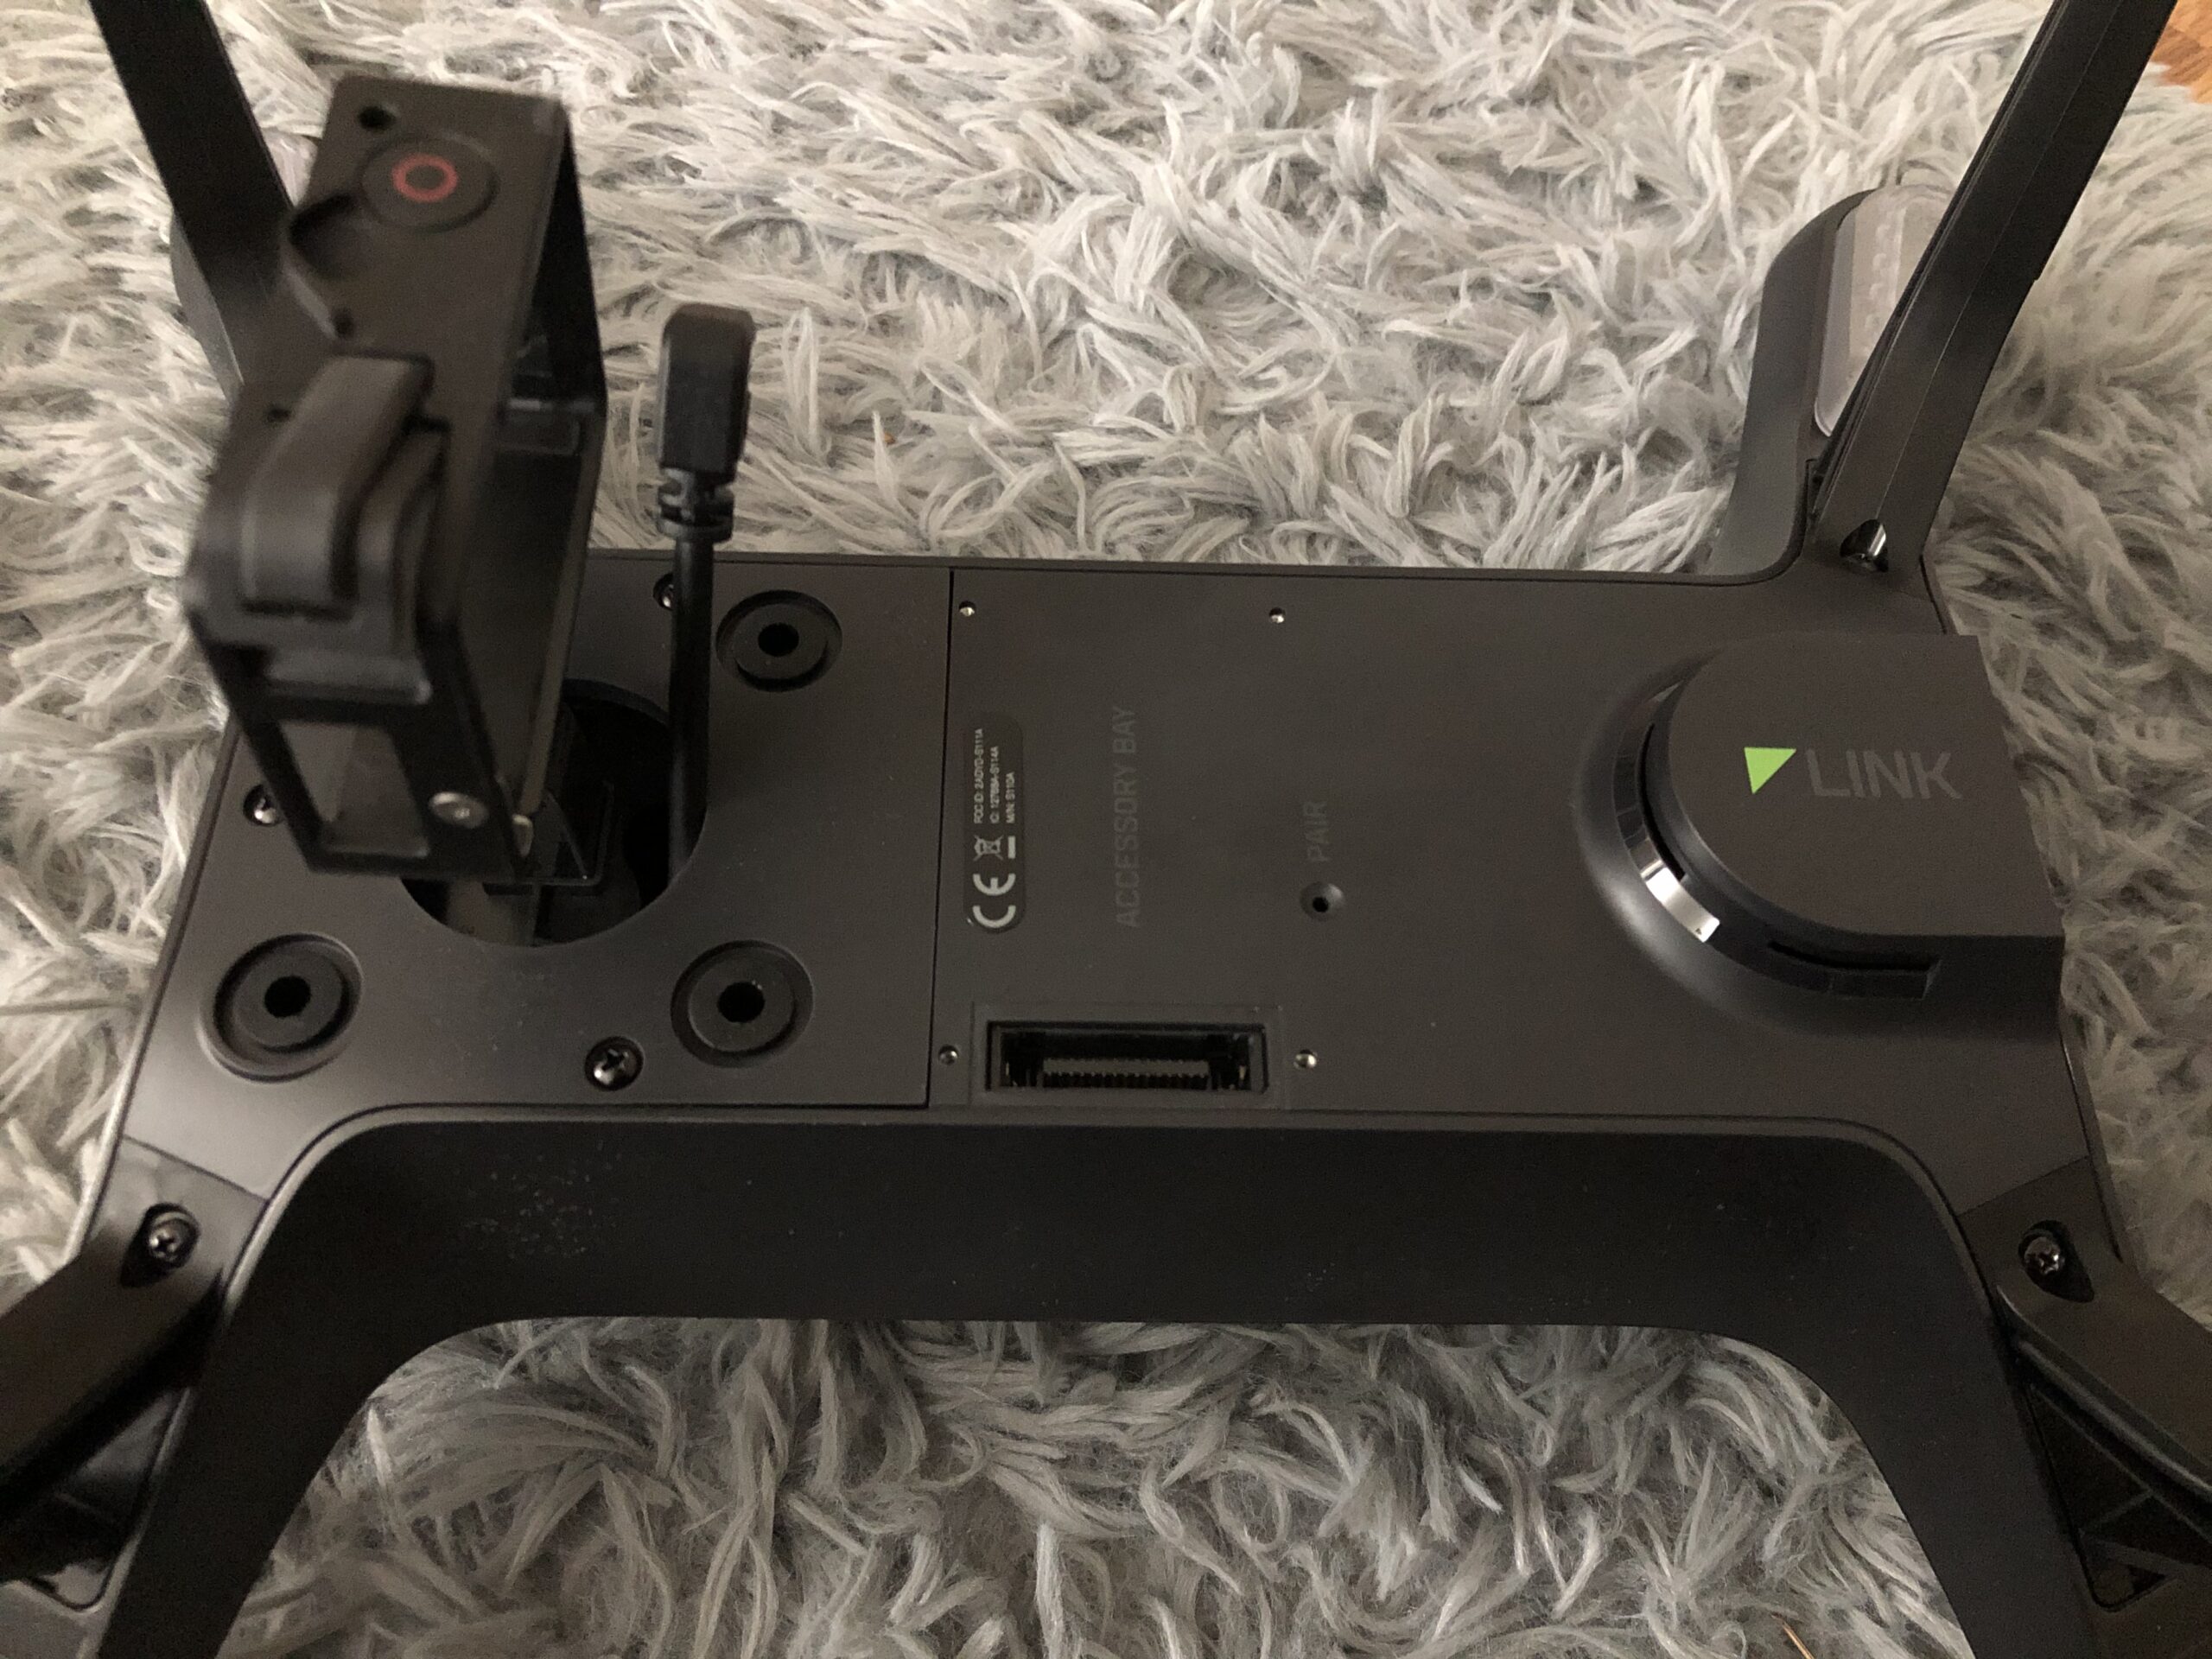
Removing the rubber cover in the accessory bay reveals our primary work port – the accessory port. This port allows us to communicate with the 2 computers inside solo system – the Pixhawk 2 flight controller and the NXP i.MX6 processor. We can connect to the USB to communicate with the i.MX6 chip and we can use the UART ports on Jetson to communicate with the pixhawk system.
Let’s start wiring it up.

We use brownie boards’ nano board to make the required connections with the accessory port. Here, we’re primarily using the battery power to power solo, but the above shown connection is not recommended – there will be fluctuations in the unfiltered battery voltage and having a regulator is strongly recommended. Notably, we skip the voltage connection on the usb to avoid any shorts. Additionally, we’ll have to manually set up the UART connections here since the nano board skips over those. We’ll also connect the PWM pins on the nano board to connect with Jetson’s PWM pins that we can later use to control a gimbal gor cameras (to be setup later). To keep the weight low, we’ll use a minimal 3d print that allowed Nvidia Jetson Xavier NX dev board to mount on the accessory bay connectors.
Next, let’s add our first sensor on the device.
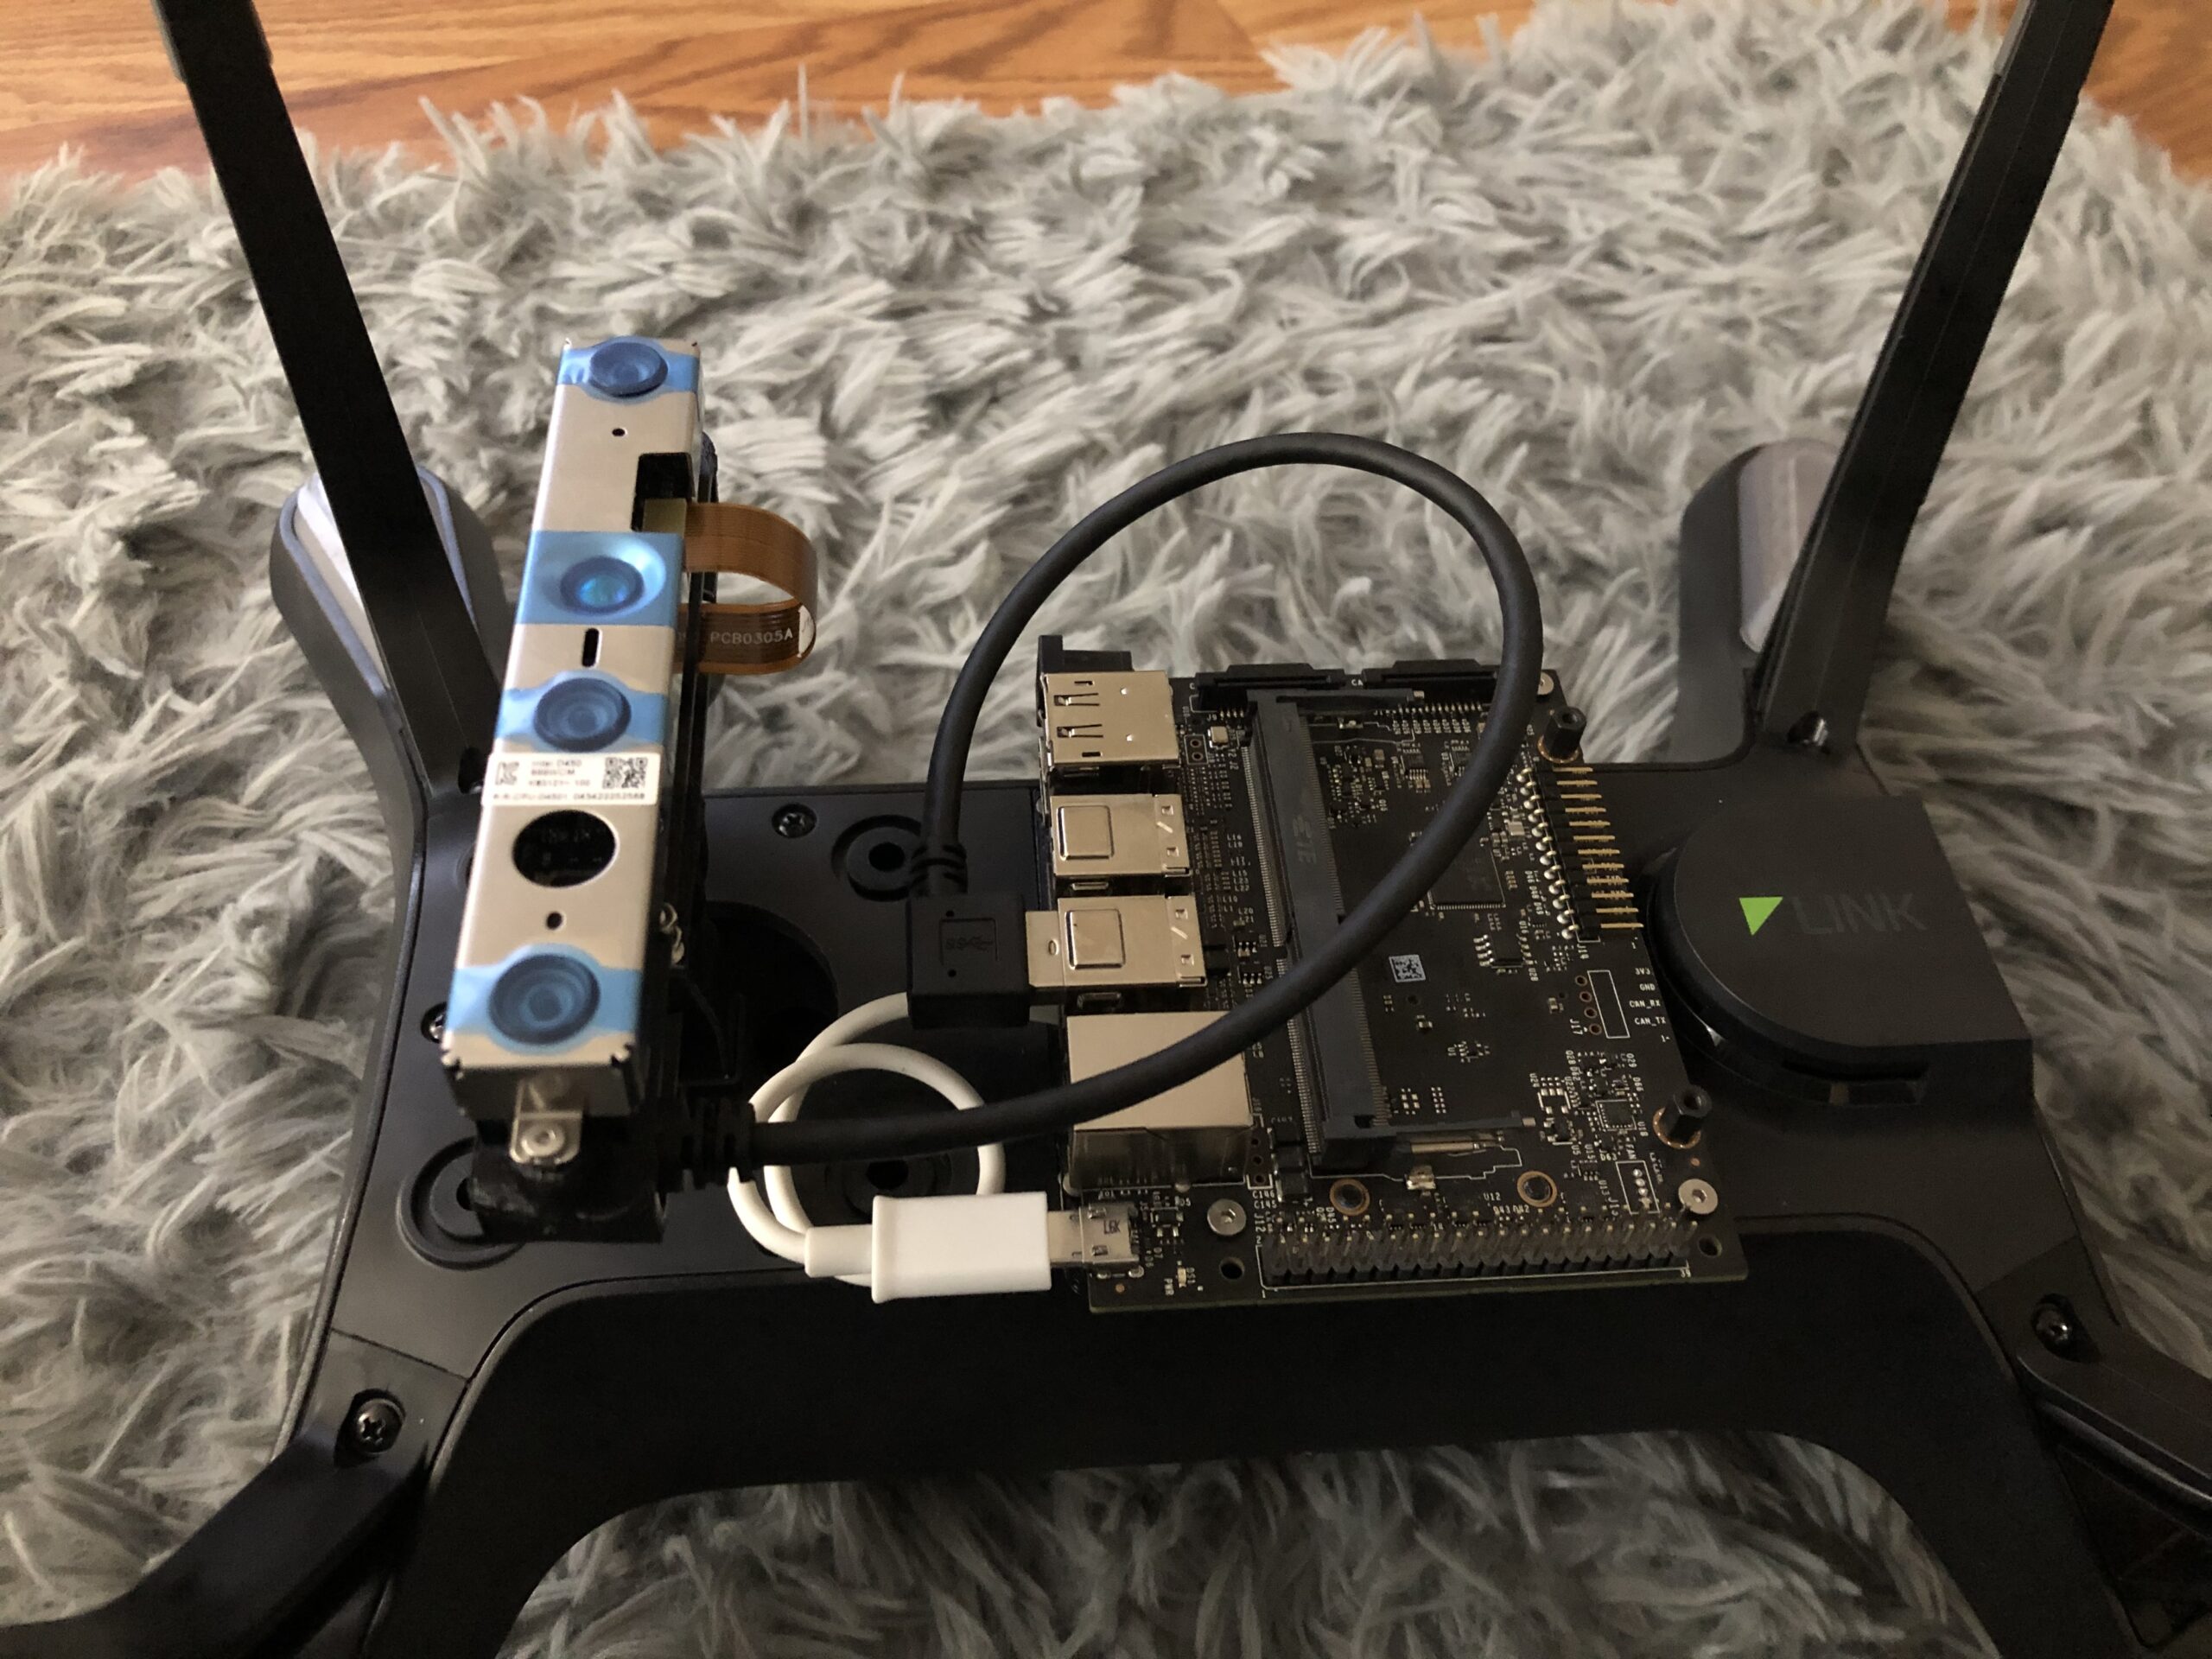
Here, we have added an Intel Realsense D450 depth module coupled with an Intel D4 processor to generate RGBD images for processing on the Jetson. To keep the weight low, the Intel module and processor carry just enough weight and heat sink to safely operate in the air.
Next up, we add another sensor, the Intel Realsense T265 tracking camera.

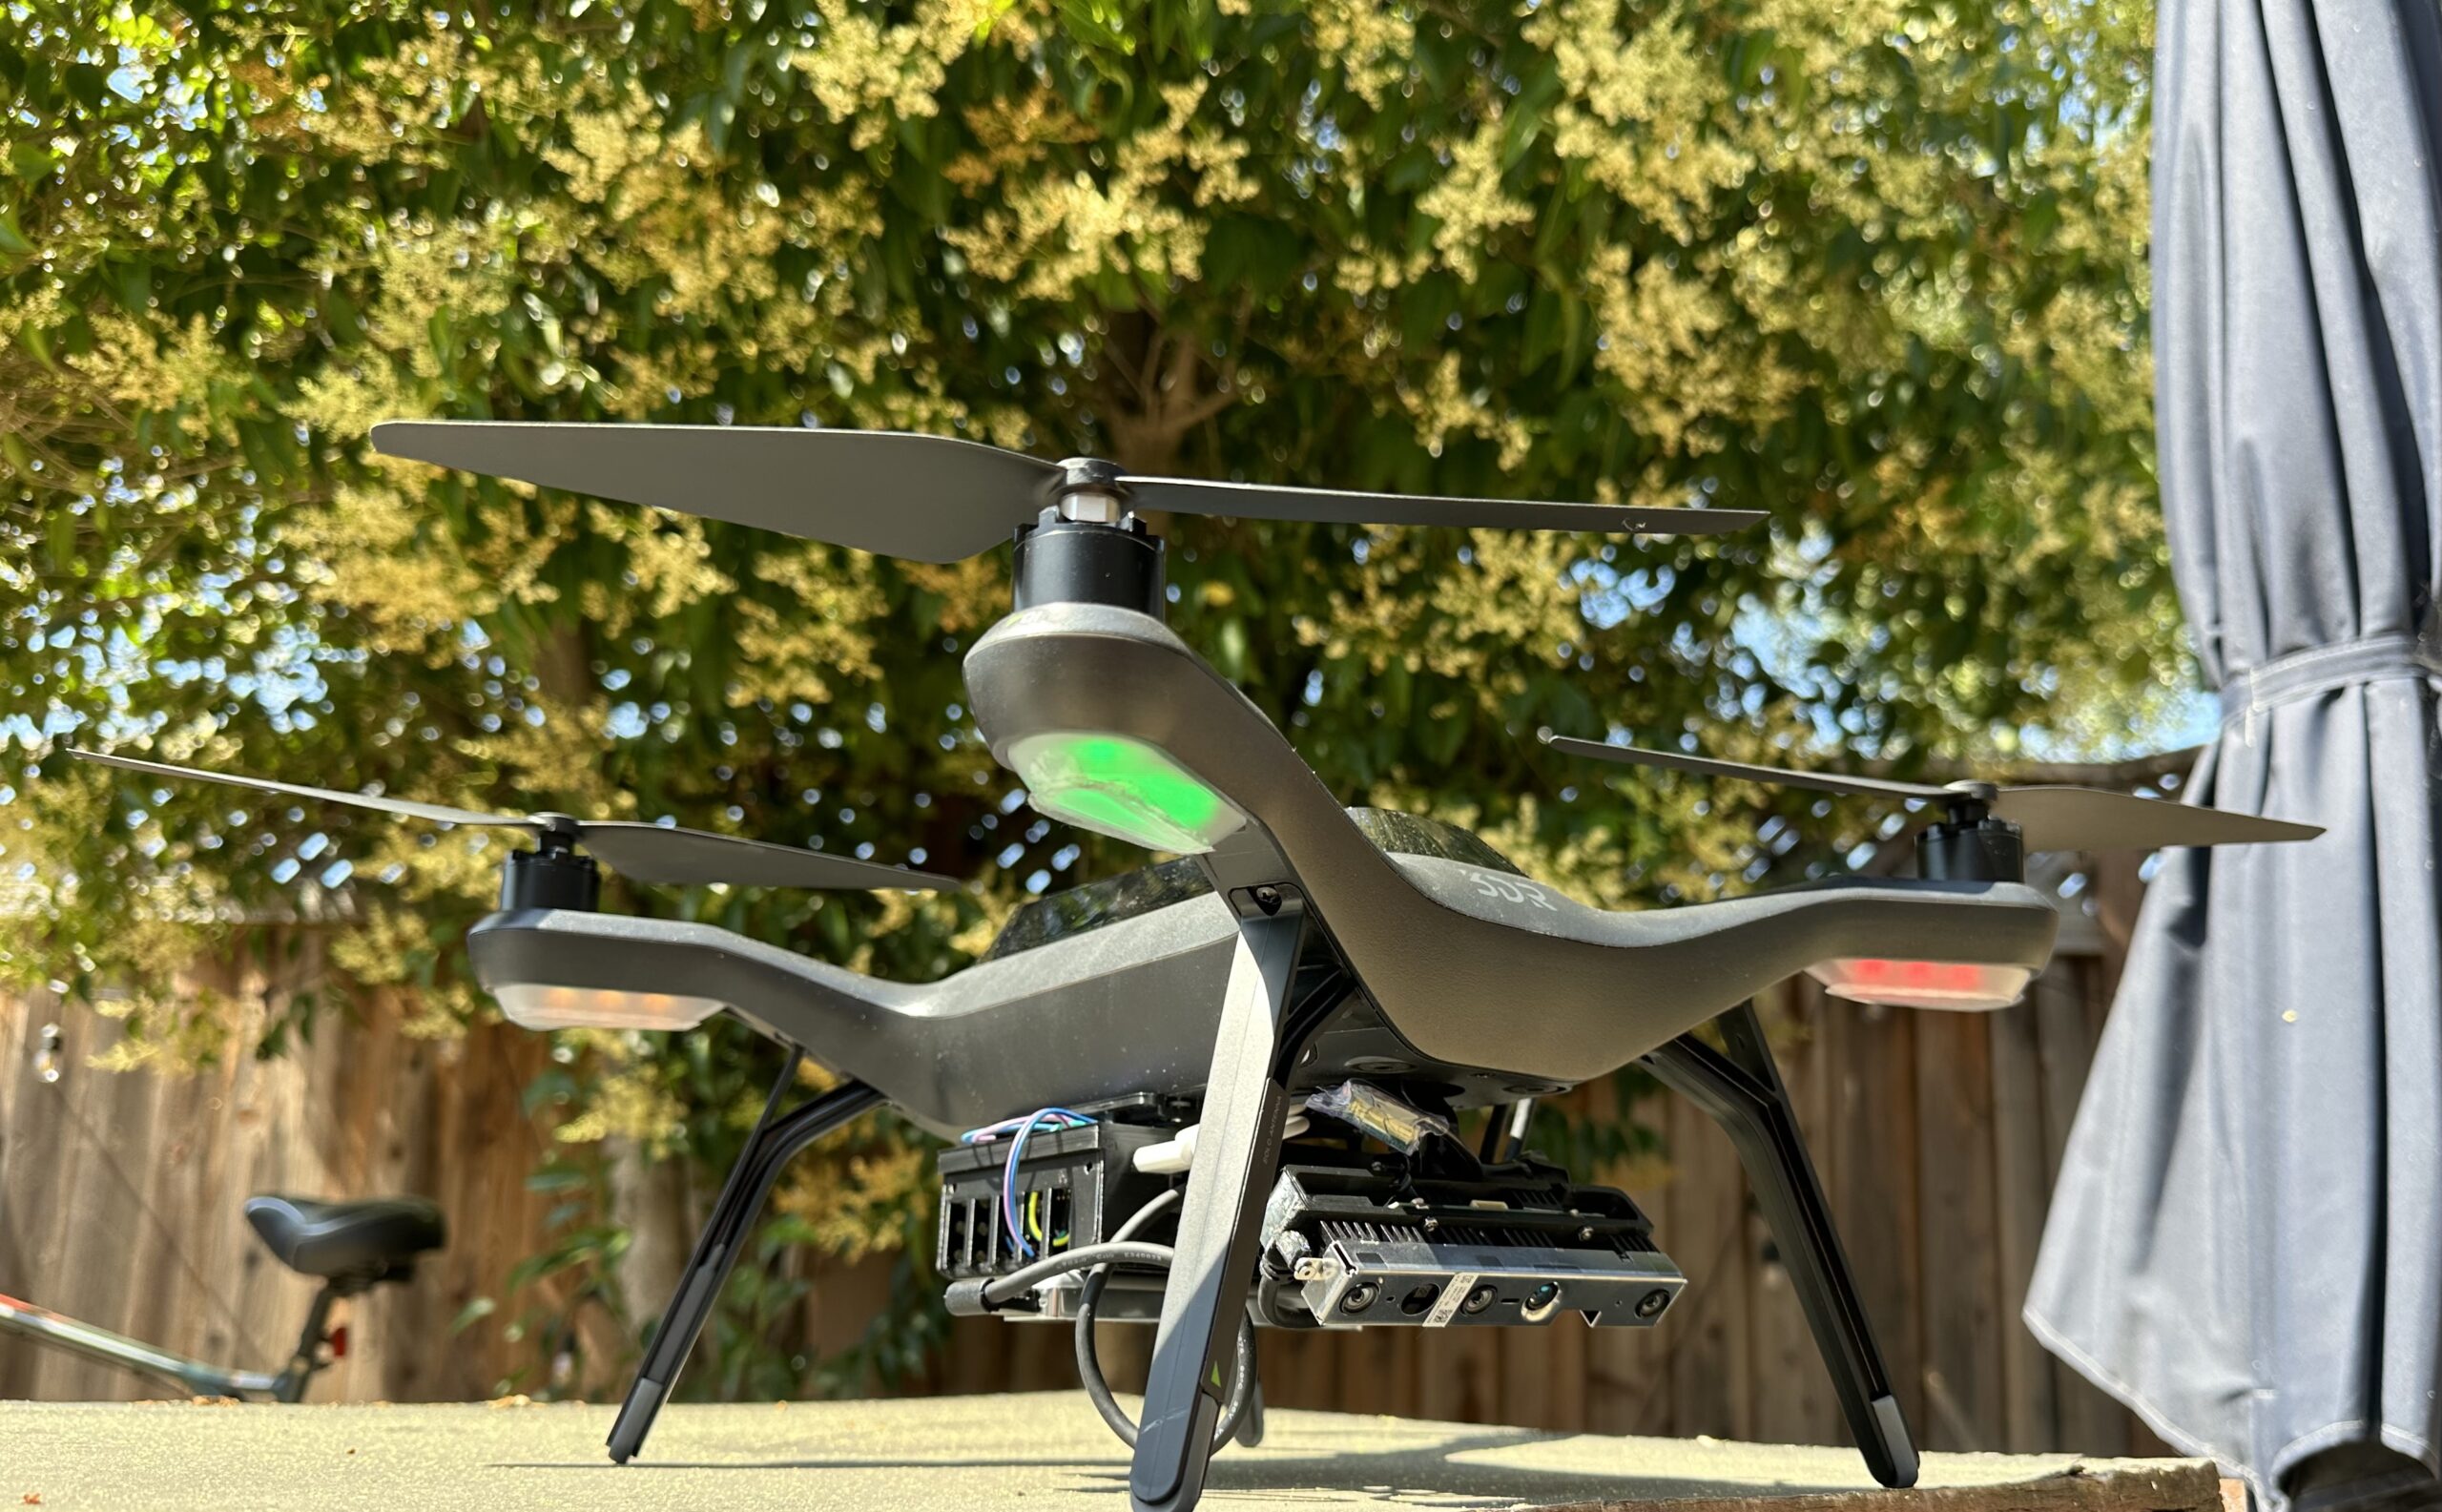
We mount a cover for the Jetson device and we can use the same case to mount an Intel tracking camera. This would help us keeping the drone stable in the air when hovering and perform dead-reckoning in gps-denied areas. Here, you can also see a modified power connection going into the Jetson device with filtered power.
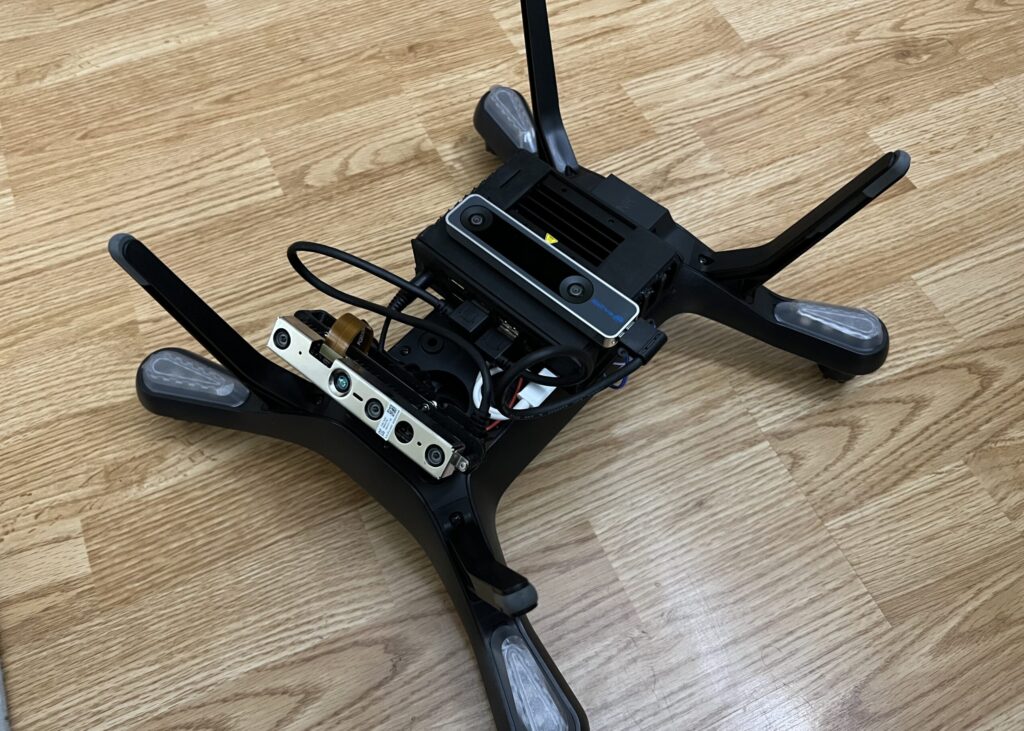
And there is our complete hardware setup.
You can follow the standard instructions to upgrade to Open Solo 4 for the system. This will open a lot of doors for controlling the drone via Jetson.
From the top, it still looks like a regular drone.
But the action is at the bottom.
In the next post we’ll discuss about the data capture, segmentation, depth estimation and controls.
Till then, happy flying folks.